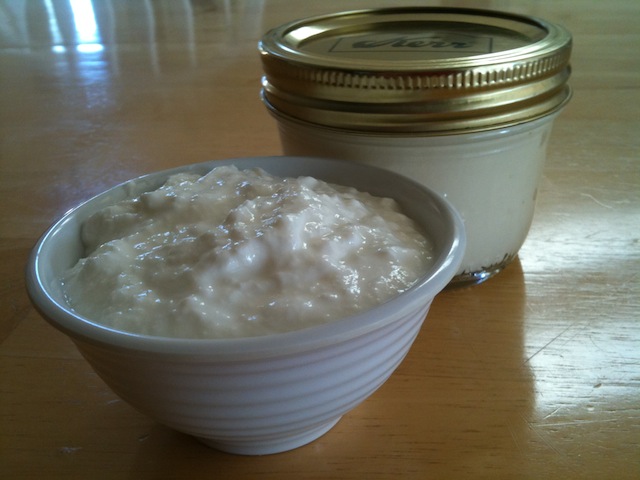
No Whey! Call it what you will, but straining the whey from yogurt is a simple and delicious way to make a high protein snack. Strained yogurt is also called greek yogurt, labneh, or yogurt cheese. Here is a simple and delicious greek yogurt recipe that had me screaming, No Whey!
Why No Whey?
Sure yogurt itself has tremendous benefits. My mom, bless her, has been trying for years to get me to eat Finnish Viili (pronounced feel-lee). Maybe its the consistency. Maybe it just seems too much like eating fermented milk. I couldn’t do it.
But transform that fermented milk into thick and rich greek yogurt and I am hooked.
I have tried greek yogurt many times and loved it. I loved the taste, the texture, and maybe even more importantly the crazy amount of protein in a serving compared to regular yogurt.
For example, a 6-ounce serving of Chobani nonfat plain Greek yogurt contains 100 calories, 18 grams of protein, 20% of the recommended daily value of calcium and 7 grams of carbohydrates. The same size serving of Dannon All Natural nonfat yogurt may has fewer calories (80) and some more calcium, but it only provides half the protein (9 grams) and almost double the carbohydrates (12 grams).
Twice the protein and half the carbs – Win for Greek Yogurt!
But I had a problem. This stuff is expensive. I couldn’t just start downing serving after serving at $1.30 each. That sent me searching, searching for a way to make my own greek yogurt. I was pleasantly surprised to learn about strained yogurt, or labneh. It turns out the process to make greek yogurt is quite simply adding a step to the process of making yogurt – strain out the whey.
By removing the whey much of the carbohydrates are removed and the result is strained yogurt, labneh, or just plain delicious Greek yogurt. I had to try it.
Simple Greek Yogurt Recipe
There were several recipes around and all were quite similar. They all held this same basic form:
- Boil 2 L of milk to 180 °F
- Cool milk to 105-110 °F
- Add yogurt starter (2-3 Tablespoons yogurt mixed with 2-3 Tablespoons milk)
- Keep warm for 8-10 hours
- Strain out the whey
- Enjoy
The process sounded simple enough. Here is the step-by-step process I went through.
Ingredients
I headed on over to the nearest wally-world and stocked up on the necessary ingredients. The hardest part was making sure I found a serving of yogurt that still contained active yogurt cultures. Most of the yogurt on the shelves were filled with flavors and sugars without any mention of active cultures.
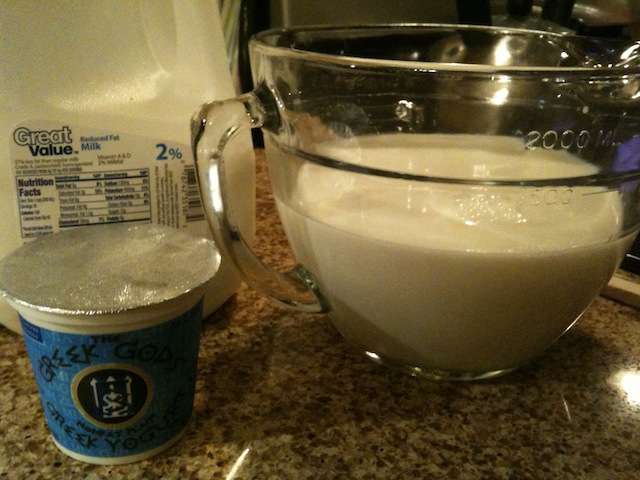
I found a serving of Greek God’s Greek Yogurt with 5 active cultures. The side of the carton identified these five types of bacteria alive and well in the serving:

- S. Thermophilus
- L. Bulgaricus
- L. Acidophilus
- Bifidobacerium
- L. Casei
I had 2% milk at home, so the only other thing I needed was something to strain the yogurt, or labneh. Most recipes called for cheese cloth. Wally-world had none. But after some additional searching I found that many people actually preferred using flour sack towels. These were still fine enough to strain the whey out of the yogurt, but wasn’t as fragile as cheese cloth. I found a 2-pack for $1.97 – not bad.
So armed with 5 types of bacteria and flour sack towels I headed home.
Boil The Milk
The first step in the process is to boil the milk. I pulled out our digital thermometer and started stirring.
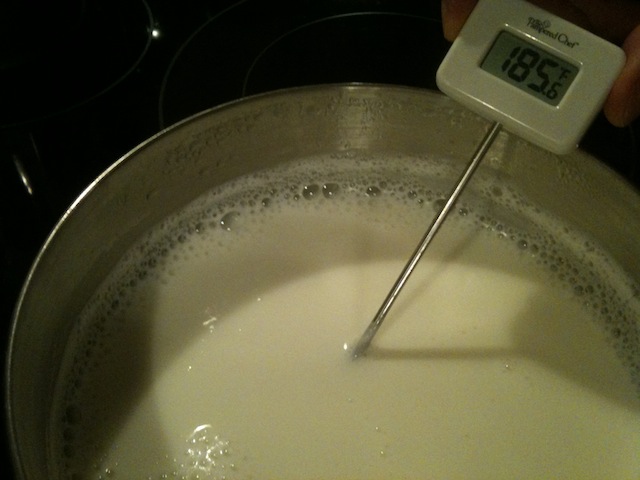
The milk is first heated to about 180 °F to kill any undesirable bacteria and to denature the milk proteins so that they set together rather than form curds.
Cool The Milk
The milk is then cooled to about 104-110 °F. Waiting is so hard to do. I mean really what is there to do while waiting.
This stage is important because the timing of when the starter is added determines how well the fermentation process progresses. The milk should be cool enough to not kill any of the good bacteria while still being warm enough to encourage rapid growth. We’re searching for a nice balance here.
So while I was waiting, what was I doing? I was mesmerized by the patterns in the thin film that had formed on the surface of the milk. As the film dried and tightened fine waves spread across the film. I thought it was cool and it gave me something to do. I even took a video of the milk cooling stage of the yogurt making process.
Stir In The Starter
Enough waiting already, we’ve achieved the perfect temperature for bacteria insertion – really just add the starter. The amount of starter will influence the flavor of the yogurt. While more is better works for many situations, this is not one. If you add more starter the resulting yogurt will have a bitter taste; not good.
For 2L of boiled/cooled milk use a starter consisting of 2 Tablespoons of yogurt and 2 Tablespoons of milk. Add the starter to the boiled and cooled milk and stir. While I found some people recommend removing the thin film from the surface of the milk, I chose to stir it in.
Grow Some Bacteria
Grow baby, grow. Now think back to childhood chicken hatching (you did that right?). The mixture we just made could be thought of as a huge collection of young-uns. They need to be kept at the perfect temperature to encourage the best growth. Ideally, this is around 104-110 °F.
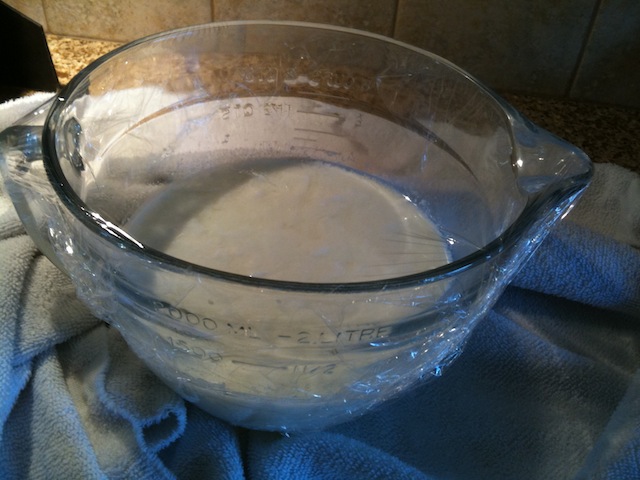
Our oven didn’t have that low of a setting, so I opted to follow the old-school approach of leaving a light on. Just leave the light on in the oven. The heat from the bulb will help create a gentle warmth. Also take the container holding the milk and starter, cover it tightly (I used clear plastic wrap), then wrap it with a large towel. Get your young-uns tucked in nice and cozy.
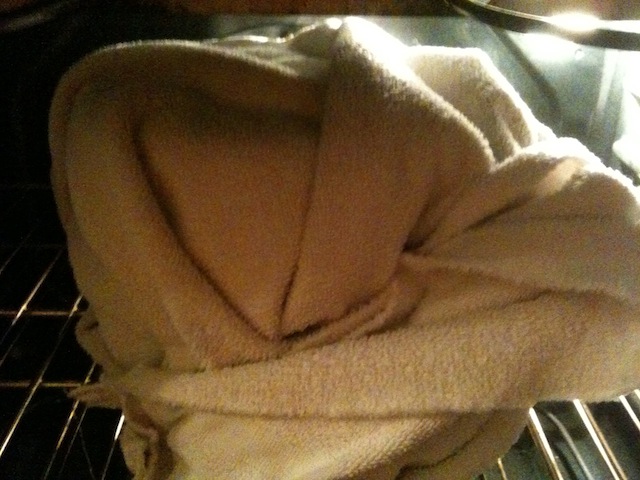
Now keep your greek yogurt mixture growing at the ideal temperature for 4 to 7 hours to allow fermentation. I left mine overnight.
Resist the temptation to peek. Just leave it alone, nice, and warm. Then when it is time to check, gently scoop into the mixture. Ideally, your brew should resemble fresh yogurt where it holds to the spoon but isn’t runny, nor stiff. If it is runny, just wrap it back up and tuck it away for a while longer.
Strain Away The Whey
Little Miss Muffet
Sat on a tuffet,
Eating her curds and whey;
Along came a spider,
Who sat down beside her
And frightened Miss Muffet away.
Most of us have heard that old poem, Little Miss Muffet, but I never really knew what she was eating. Curds – I assume were deep fried cheese curds left over from the nearest State Fair. Whey – I don’t know what I thought this was. Perhaps she was trying to build some muscle by downing some whey protein.
Well in this adventure the whey is the liquid that is removed from the yogurt to transform it into the thicker, richer, and more protein-dense greek yogurt, or labneh.
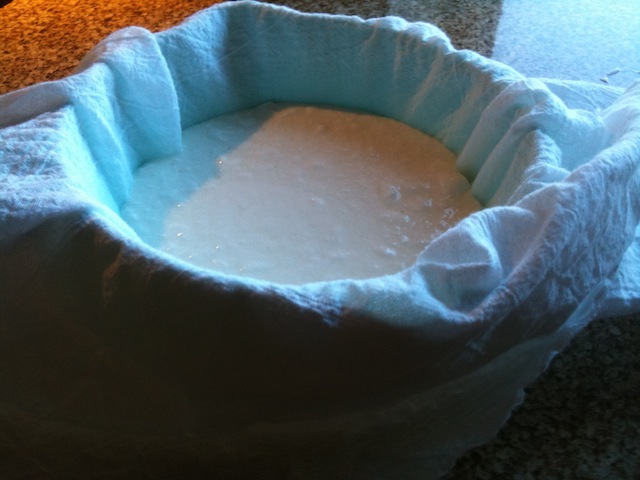
To strain the whey I spread the flour sack towel that I bought from walley-world into a colander, then poured the yogurt in.
To help the draining process I took some twine, pulled the flour sack towel together, tied it off, then tied it off to the cupboards to the whey could freely drip from the towel.
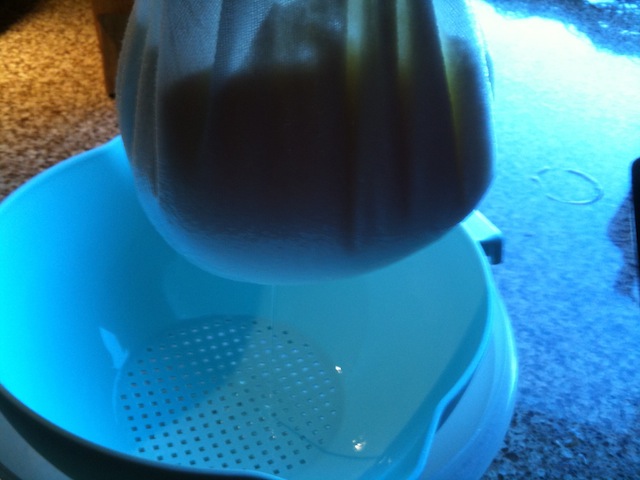
If you look close at the bottom of the image you can see the clear, solid stream of whey running out of the yogurt sack leaving only the strained yogurt, a delicious homemade greek yogurt.
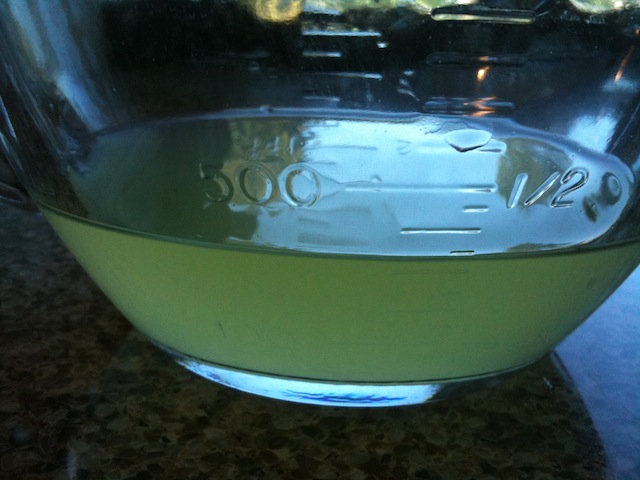
Leave this to sit for a while to let it drip until the whey is removed. If you’d like your strained yogurt very thick it is even possible to squeeze the flour cloth sack to force more whey out. I was curious just how much liquid is removed in this process.
30% of the volume is removed as whey!
I didn’t keep this liquid, but it is edible. Let me know if you discover a good use for the whey. See how much is left behind.
The Result – Greek Yogurt
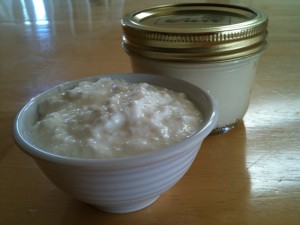
For my first batch I cut the recipe in half and produced 4 servings of homemade greek yogurt. This strained yogurt, or labneh, is an excellent source of protein without the sugars and carbohydrates typically found in yogurts.
By making my own greek yogurt I not only enjoy my own concoction, but also save a lot. The single package of greek yogurt I used for starter cost $1.30. My estimated costs for a single serving of my own strained yogurt is only 35 cents!
Now doesn’t that leave you saying No Whey! right along with me?


Want to discuss? Join the conversation CubeDwellerFitness's Facebook Page.